# Vue quick start
Mount a typed Grafloria flow in Vue 3, keep its nodes and edges in Vue state, and call the live diagram instance from your component.
Grafloria uses one headless model behind every framework binding: the Vue component converts your specs into the diagram model, while the live instance gives you the rendered diagram and its operations.
## Prerequisites
- Vue 3.4 or later
- A Vite-based Vue application with TypeScript support
- Node.js 20.19 or later when your project loads the packages through Node
## Install the packages
```bash
npm install @grafloria/vue @grafloria/element @grafloria/renderer @grafloria/engine
```
## 1. Define typed graph data
Import [`NodeSpec`](https://bench-grafloria-56.atloria.app/p/bench-grafloria-56-62cg8vR5rF/developer/grafloria-renderer-instance-nodespec#nodespec) and [`EdgeSpec`](https://bench-grafloria-56.atloria.app/p/bench-grafloria-56-62cg8vR5rF/developer/grafloria-renderer-instance-edgespec#edgespec), then keep the graph in refs. The node IDs in the edge endpoints must match the node IDs.
```vue title="App.vue"
```
The mounted flow draws two labelled boxes joined by a link. Dragging a node or adding and removing graph items updates the bound refs through `v-model:nodes` and `v-model:edges`. The wrapper has a resolved height, so the canvas has room to render.
For initial data that the canvas owns after mount, use `:default-nodes="nodes"` and `:default-edges="edges"` instead. Use the controlled `v-model` form when the rest of your application needs the graph data.
## 2. Add the built-in canvas controls
Set the `plugins` prop to `true` on the same mounted component:
```vue
```
The canvas keeps the graph and adds the shipped minimap, zoom controls, fit control, and dotted background. No stylesheet import is required.
## 3. Capture the live instance
The `init` event supplies a [`DiagramInstance`](https://bench-grafloria-56.atloria.app/p/bench-grafloria-56-62cg8vR5rF/developer/grafloria-renderer-instance-diagraminstance#diagraminstance) after the flow mounts. Keep that reference in the component, then call instance methods from your own UI.
```vue title="App.vue"
```
The button calls `fitView()` on the mounted diagram and frames both nodes in the canvas. Before `init` fires, `instance` is `null`, so the optional call does nothing; after initialization it operates on the live diagram rather than on a separate model.
## Use sibling UI and diagram specs
Use [`GrafloriaProvider`](https://bench-grafloria-56.atloria.app/p/bench-grafloria-56-62cg8vR5rF/developer/grafloria-vue#grafloriaprovider) when a toolbar or inspector is a sibling of the flow. The composables read the same mounted instance: [`useGrafloria`](https://bench-grafloria-56.atloria.app/p/bench-grafloria-56-62cg8vR5rF/developer/grafloria-vue#usegrafloria) returns it, [`useSelection`](https://bench-grafloria-56.atloria.app/p/bench-grafloria-56-62cg8vR5rF/developer/grafloria-vue#useselection) returns reactive selection state, [`useViewport`](https://bench-grafloria-56.atloria.app/p/bench-grafloria-56-62cg8vR5rF/developer/grafloria-vue#useviewport) returns the camera, and [`useOnSelectionChange`](https://bench-grafloria-56.atloria.app/p/bench-grafloria-56-62cg8vR5rF/developer/grafloria-vue#useonselectionchange) registers a selection callback. [`GrafloriaDiagram`](https://bench-grafloria-56.atloria.app/p/bench-grafloria-56-62cg8vR5rF/developer/grafloria-vue#grafloriadiagram) is the kit-spec host; [`GrafloriaCommentPanel`](https://bench-grafloria-56.atloria.app/p/bench-grafloria-56-62cg8vR5rF/developer/grafloria-vue#grafloriacommentpanel) displays the comment store when comments are enabled.
```vue title="App.vue"
```
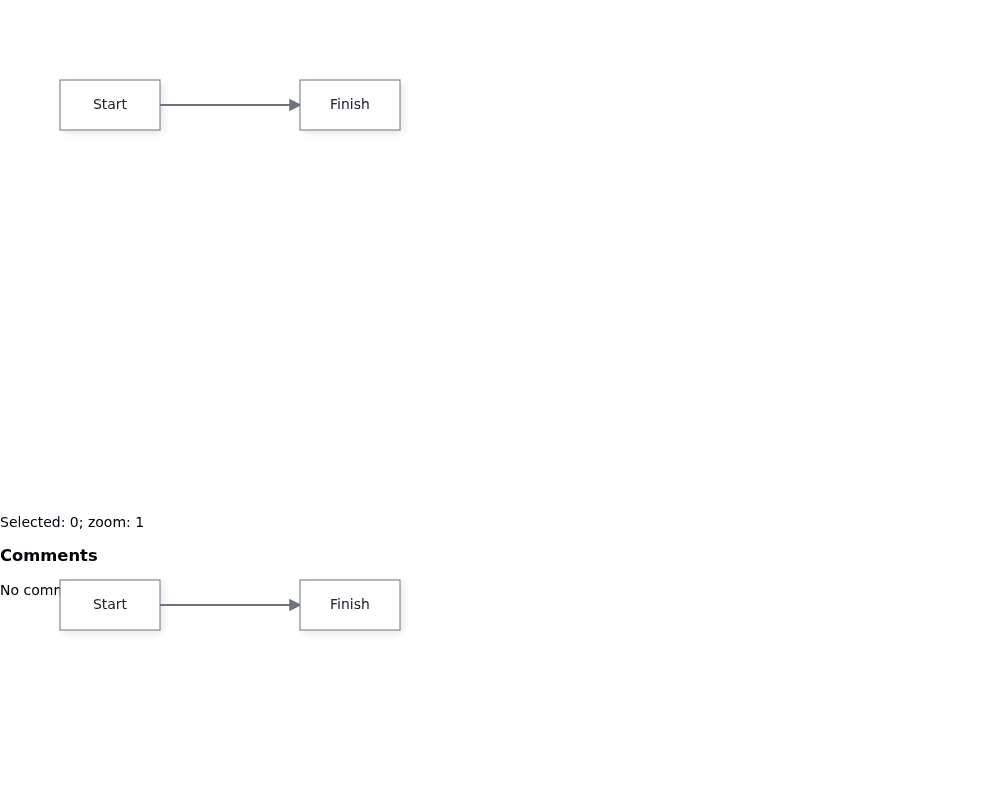
The provider makes the flow instance available to sibling tools; the selection count and zoom value update as the user interacts with the flow. The comment panel receives the flow's store, while the second canvas renders the separate diagram spec.
## What you have at the end
Your Vue component now renders a typed, editable two-node flow, keeps graph changes in Vue refs, and holds the live instance for operations such as `fitView()`, `renderNow()`, `getModel()`, and `getEngine()`.
Try the [Vue 3 in 10 minutes tutorial](https://grafloria.com/learn/vue/) and its [live Vue demos](https://grafloria.com/demos-vue/). Next, read [How Grafloria works](https://bench-grafloria-56.atloria.app/p/bench-grafloria-56-62cg8vR5rF/developer/how-grafloria-works) for the model and instance layers, or [Customize nodes](https://bench-grafloria-56.atloria.app/p/bench-grafloria-56-62cg8vR5rF/developer/customize-nodes) for Vue slot-defined nodes.