# React quick start
Mount a typed Grafloria flow in React, keep its nodes and edges in React state, and retain the live diagram instance for imperative actions.
Grafloria has one headless model behind its framework bindings: React renders the diagram, while the instance owns the live graph and engine behavior.
## Prerequisites
- React 17, 18, or 19
- A React project with TypeScript and a browser build
- Node.js 20.19 or later for the package toolchain
## 1. Install the packages
Install the React binding and its renderer and engine dependencies:
```bash
npm install @grafloria/react @grafloria/element @grafloria/renderer @grafloria/engine react react-dom
```
The starter uses the published `@grafloria/react` package and does not require a renderer stylesheet import.
## 2. Mount a flow
Use [`GrafloriaFlow`](https://bench-grafloria-56.atloria.app/p/bench-grafloria-56-62cg8vR5rF/developer/grafloria-react#grafloriaflow) as an element. Type the node data with [`NodeSpec`](https://bench-grafloria-56.atloria.app/p/bench-grafloria-56-62cg8vR5rF/developer/grafloria-renderer-instance-nodespec#nodespec), give the nodes positions and sizes, and connect them with edge specs.
```tsx title="App.tsx"
import { GrafloriaFlow, type NodeSpec } from '@grafloria/react';
const nodes: NodeSpec[] = [
{
id: 'a',
position: { x: 60, y: 80 },
size: { width: 180, height: 80 },
data: { label: 'Ingest' },
},
{
id: 'b',
position: { x: 380, y: 80 },
size: { width: 180, height: 80 },
data: { label: 'Publish' },
},
];
const edges = [{ id: 'e1', source: 'a', target: 'b' }];
export default function App() {
return (
);
}
```
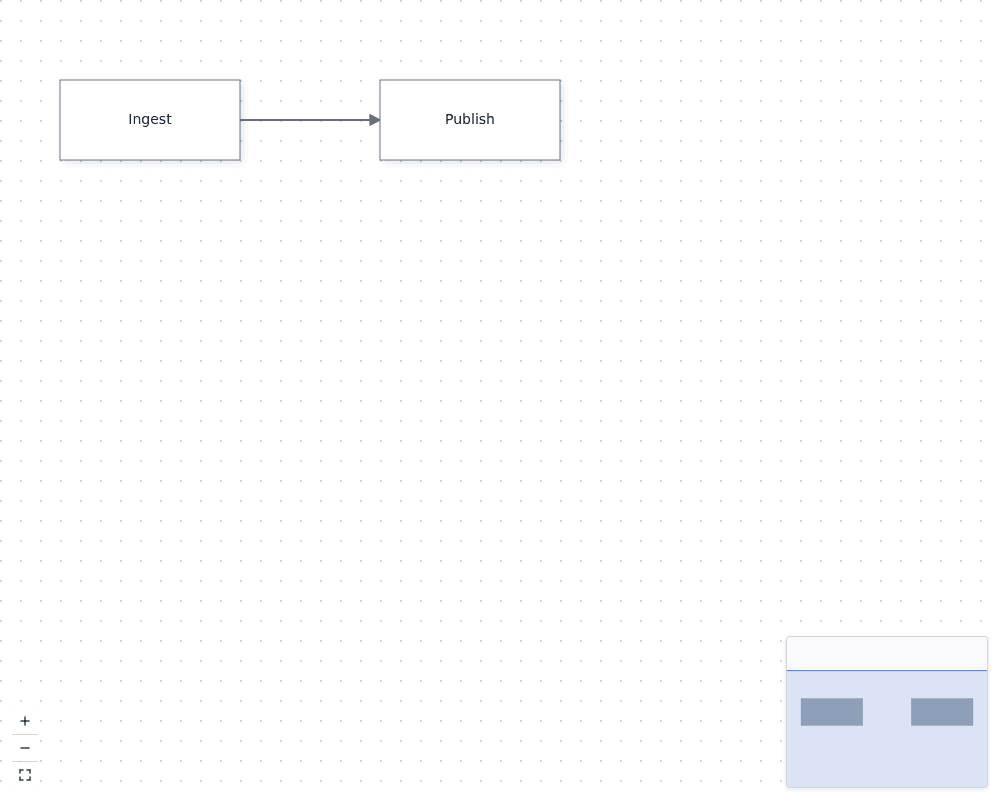
This renders two boxes joined by an edge. The boxes can be dragged, the canvas can be panned and zoomed, and `plugins` adds the minimap, zoom and fit controls, and background. `defaultNodes` and `defaultEdges` seed an uncontrolled flow; the mounted instance owns those values after initialization. Give the host a resolved height; see [Edit Mermaid diagrams](https://bench-grafloria-56.atloria.app/p/bench-grafloria-56-62cg8vR5rF/developer/edit-mermaid-diagrams) for the blank-canvas pitfall.
## 3. Keep nodes and edges in React state
Choose controlled state when another part of your application needs the graph. [`useNodesState`](https://bench-grafloria-56.atloria.app/p/bench-grafloria-56-62cg8vR5rF/developer/grafloria-react#usenodesstate) and `useEdgesState` each return the current specs, a setter, and the handler that folds live model changes back into React state. Pass the third value to the matching `onNodesChange` or `onEdgesChange` prop.
```tsx title="Editor.tsx"
import { useRef } from 'react';
import {
GrafloriaFlow,
useEdgesState,
useNodesState,
type NodeSpec,
} from '@grafloria/react';
import type { DiagramInstance } from '@grafloria/react';
const initialNodes: NodeSpec[] = [
{
id: 'a',
position: { x: 60, y: 80 },
size: { width: 180, height: 80 },
data: { label: 'Ingest' },
},
{
id: 'b',
position: { x: 380, y: 80 },
size: { width: 180, height: 80 },
data: { label: 'Publish' },
},
];
const initialEdges = [{ id: 'e1', source: 'a', target: 'b' }];
export default function Editor() {
const [nodes, setNodes, onNodesChange] = useNodesState(initialNodes);
const [edges, setEdges, onEdgesChange] = useEdgesState(initialEdges);
const instanceRef = useRef(null);
return (
{
instanceRef.current = instance;
}}
plugins
/>
);
}
```
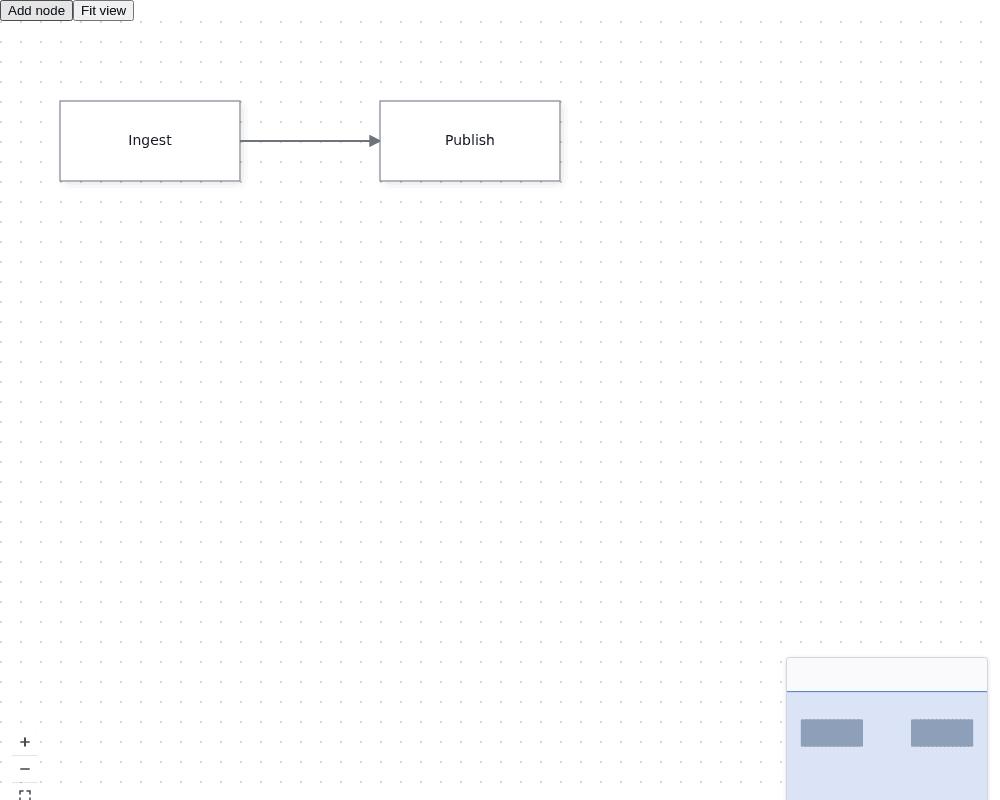
Dragging a node updates the live model and then updates `nodes` through `onNodesChange`; edge edits follow the same path through `onEdgesChange`. Clicking **Add node** produces a third box because `setNodes` changes React's source of truth. Keep the arrays in state or memoize them rather than creating a fresh array for every unrelated render.
Do not pass `nodes` or `edges` without their matching change handler: the next controlled render can replace a user edit with stale React state. Use `defaultNodes` and `defaultEdges` instead when the canvas alone owns the graph.
## 4. Use the live instance
`onInit` receives the mounted [`DiagramInstance`](https://bench-grafloria-56.atloria.app/p/bench-grafloria-56-62cg8vR5rF/developer/grafloria-renderer-instance-diagraminstance#diagraminstance). Store it in a ref when a control lives beside the flow. `fitView()` frames the content; other instance methods let you read the model or reach the engine without replacing the rendered component.
The editor above calls `instanceRef.current?.fitView()` from **Fit view**, so the visible boxes are reframed without changing the node or edge state. The ref is nullable because the instance does not exist until the flow mounts.
## What you have at the end
You have a React flow with typed node specs, a connected edge, controlled node and edge updates, and a ref to the live instance. Try the complete tutorial in the [React in 10 minutes live demo](https://grafloria.com/learn/react/).
Next, see [React hooks and components](https://bench-grafloria-56.atloria.app/p/bench-grafloria-56-62cg8vR5rF/developer/react-hooks-and-components) for selection, viewport subscriptions, and custom nodes, or [Instance and lifecycle](https://bench-grafloria-56.atloria.app/p/bench-grafloria-56-62cg8vR5rF/developer/instance-and-lifecycle) for instance ownership and cleanup.