# JavaScript quick start
Mount a working flow diagram in plain JavaScript, connect two nodes, and keep the live instance for later operations.
Grafloria uses one headless model behind its framework bindings. In plain JavaScript, call the [`render`](https://bench-grafloria-56.atloria.app/p/bench-grafloria-56-62cg8vR5rF/developer/grafloria-element-core#render) function with diagram data and a sized host element, then use the returned [`DiagramInstance`](https://bench-grafloria-56.atloria.app/p/bench-grafloria-56-62cg8vR5rF/developer/grafloria-renderer-instance-diagraminstance#diagraminstance) for the live canvas.
## Prerequisites
- A browser with ES modules and a JavaScript project with npm.
- `@grafloria/element` 0.4.83, `@grafloria/renderer` 0.4.19, and `@grafloria/engine` 0.3.18.
## 1. Install the packages
```bash
npm install @grafloria/element @grafloria/renderer @grafloria/engine
```
The element package supplies the plain-JavaScript `render()` entry point. The renderer and engine packages satisfy its peer dependencies.
## 2. Give the diagram a real host
Create a host with explicit width and height. The renderer needs the host's resolved height to paint the canvas.
```html title="index.html"
Grafloria flow
```
## 3. Mount and connect the nodes
Import `render()`, describe two [`NodeSpec`](https://bench-grafloria-56.atloria.app/p/bench-grafloria-56-62cg8vR5rF/developer/grafloria-renderer-instance-nodespec#nodespec) values with positions and sizes, and connect them with an [`EdgeSpec`](https://bench-grafloria-56.atloria.app/p/bench-grafloria-56-62cg8vR5rF/developer/grafloria-renderer-instance-edgespec#edgespec). The `source` and `target` values refer to node ids.
```js title="src/main.js"
import { render } from '@grafloria/element';
const canvas = document.getElementById('canvas');
if (!(canvas instanceof HTMLElement)) {
throw new Error('The #canvas host is missing.');
}
canvas.style.width = '800px';
canvas.style.height = '400px';
const instance = render(
{
nodes: [
{
id: 'a',
position: { x: 60, y: 80 },
size: { width: 180, height: 80 },
label: 'Ingest',
},
{
id: 'b',
position: { x: 380, y: 80 },
size: { width: 180, height: 80 },
label: 'Publish',
},
],
edges: [{ id: 'e1', source: 'a', target: 'b' }],
},
canvas,
);
instance.fitView();
```
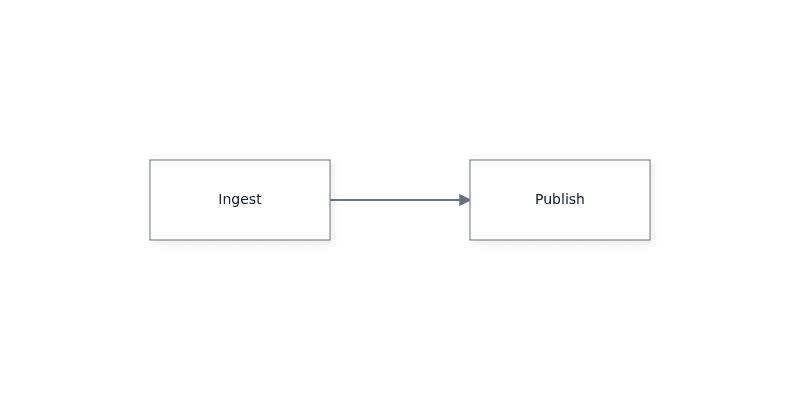
The call mounts the editor into `canvas` and returns the live `DiagramInstance`. The browser shows two labelled boxes joined by an edge; you can drag nodes, draw connections, pan, and zoom. `fitView()` frames all content in the host.
The `spec` argument is data, not Mermaid text. Use the text import/export APIs on the instance when you need Mermaid-compatible text; see [Edit Mermaid diagrams](https://bench-grafloria-56.atloria.app/p/bench-grafloria-56-62cg8vR5rF/developer/edit-mermaid-diagrams).
## Or use the web component
The [`GrafloriaFlowElement`](https://bench-grafloria-56.atloria.app/p/bench-grafloria-56-62cg8vR5rF/developer/grafloria-element-core#grafloriaflowelement) custom element provides the same diagram surface without calling `render()` directly. Give it a resolved height, assign its node and edge properties, and read its `diagram` property after it connects.
```html title="element.html"
Grafloria element
```
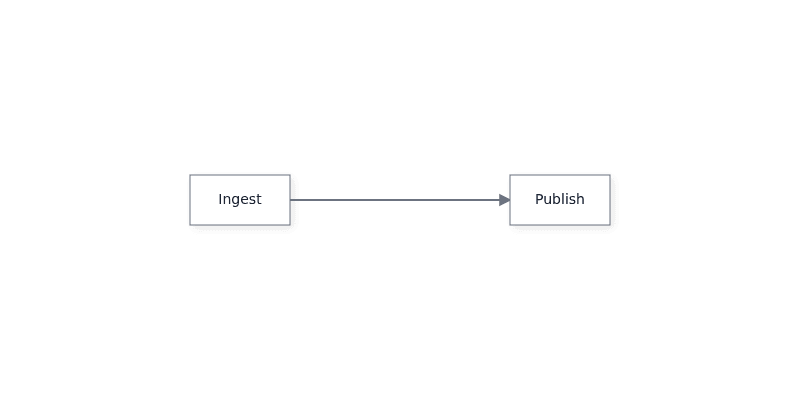
The browser shows the same two connected boxes. `flow.diagram` is the live `DiagramInstance` once the element is connected.
## 4. Use the live instance
Keep `instance` in the scope that owns the diagram. For example, replace the current connections through the instance after the canvas has mounted:
```js
import { render } from '@grafloria/element';
const canvas = document.getElementById('canvas');
if (!(canvas instanceof HTMLElement)) {
throw new Error('The #canvas host is missing.');
}
canvas.style.width = '800px';
canvas.style.height = '400px';
const instance = render(
{
nodes: [
{ id: 'a', position: { x: 60, y: 80 }, label: 'Ingest' },
{ id: 'b', position: { x: 380, y: 80 }, label: 'Publish' },
],
edges: [{ id: 'e1', source: 'a', target: 'b' }],
},
canvas,
);
instance.setEdges([
{ id: 'e1', source: 'a', target: 'b', label: 'published' },
]);
instance.renderNow();
```
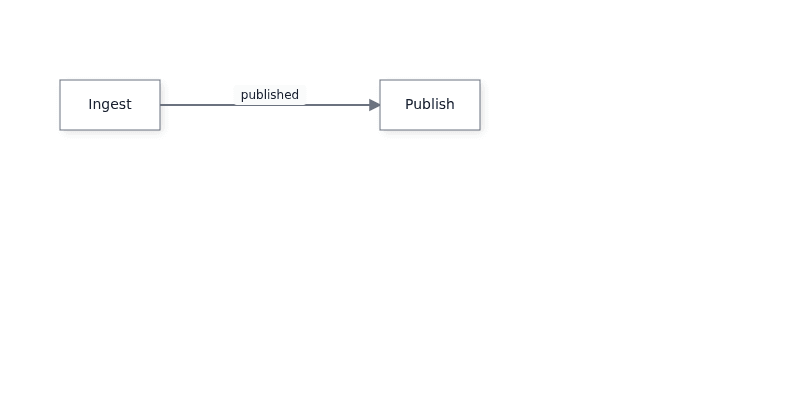
`setEdges()` reconciles the live edge data, and `renderNow()` repaints synchronously. The visible connection now carries the `published` label.
## Pitfall: reconciling the same ids
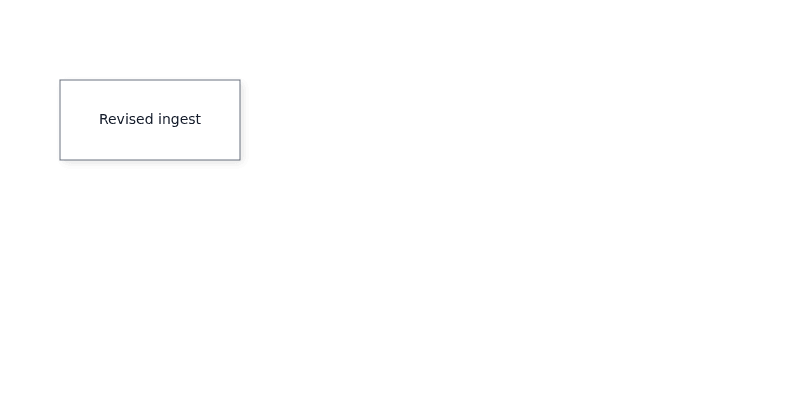
`setNodes()` and `loadText()` reconcile by id. Persistent ids retain live objects and stale state. When you reapply externally edited data with the same ids, clear the current edges and nodes first, then load the replacement data:
```js
import { render } from '@grafloria/element';
const canvas = document.getElementById('canvas');
if (!(canvas instanceof HTMLElement)) {
throw new Error('The #canvas host is missing.');
}
canvas.style.width = '800px';
canvas.style.height = '400px';
const instance = render(
{
nodes: [
{
id: 'a',
position: { x: 60, y: 80 },
size: { width: 180, height: 80 },
label: 'Ingest',
},
],
edges: [],
},
canvas,
);
instance.setEdges([]);
instance.setNodes([]);
instance.setNodes([
{
id: 'a',
position: { x: 60, y: 80 },
size: { width: 180, height: 80 },
label: 'Revised ingest',
},
]);
instance.setEdges([]);
instance.renderNow();
```
For the host sizing rule and Mermaid round trips, continue to [Edit Mermaid diagrams](https://bench-grafloria-56.atloria.app/p/bench-grafloria-56-62cg8vR5rF/developer/edit-mermaid-diagrams). For the instance lifecycle and deeper model access, read [Instance and lifecycle](https://bench-grafloria-56.atloria.app/p/bench-grafloria-56-62cg8vR5rF/developer/instance-and-lifecycle).
## What you have at the end
You have a 800 × 400 host containing a connected, interactive diagram. `instance` is the live handle returned by `render()`, so later code can update nodes or edges, subscribe to events, fit the view, render immediately, and dispose the diagram during application teardown.
## Where next
- [How Grafloria works](https://bench-grafloria-56.atloria.app/p/bench-grafloria-56-62cg8vR5rF/developer/how-grafloria-works) explains the model, engine, document, ports, and shared history.
- [Events and interaction](https://bench-grafloria-56.atloria.app/p/bench-grafloria-56-62cg8vR5rF/developer/events-and-interaction) shows how to react to user edits.
- [Theme diagrams](https://bench-grafloria-56.atloria.app/p/bench-grafloria-56-62cg8vR5rF/developer/theme-diagrams) covers theme changes.
- [React quick start](https://bench-grafloria-56.atloria.app/p/bench-grafloria-56-62cg8vR5rF/developer/react-quick-start), [Vue quick start](https://bench-grafloria-56.atloria.app/p/bench-grafloria-56-62cg8vR5rF/developer/vue-quick-start), [Angular quick start](https://bench-grafloria-56.atloria.app/p/bench-grafloria-56-62cg8vR5rF/developer/angular-quick-start), and [Qwik quick start](https://bench-grafloria-56.atloria.app/p/bench-grafloria-56-62cg8vR5rF/developer/qwik-quick-start) use the same model through framework bindings.
- [Open the JavaScript starter in StackBlitz](https://stackblitz.com/github/grafloria/grafloria/tree/main/starters/javascript?file=src/main.js) to run this setup in a browser.